To use a Kira module as an IR remote
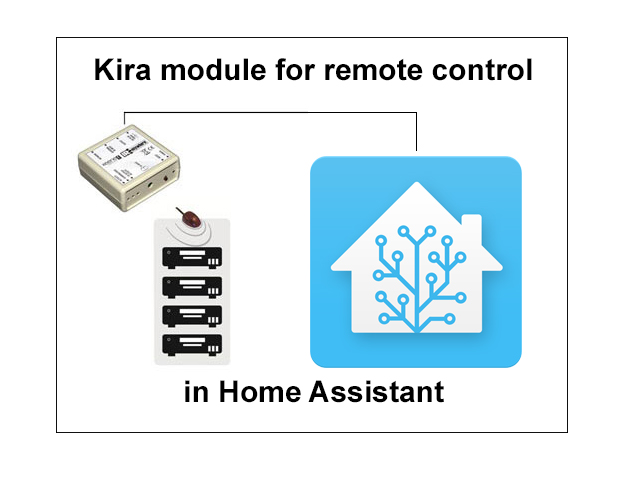
This integration allows Home Assistant to control devices by infrared.
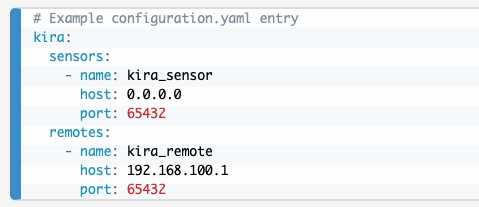
Step 1 - Edit your configuration.yaml
Add this section:
kira:
remotes:
- name: kira_remote //(call it whatever you like)
host: 192.160.0.20 (make sure this is your Kira module IP)
port: 65432 //(can be changed on the kira module - 65432 is factory default)
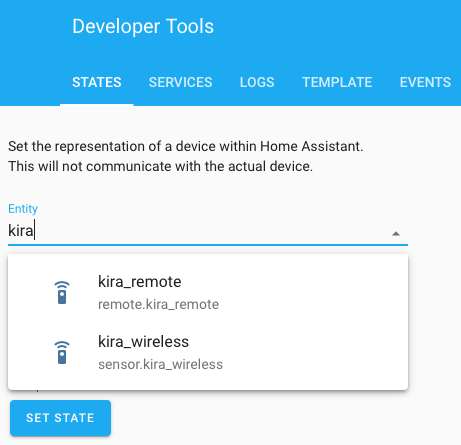
Step 2 - Restart your Home Assistant server
You should now have an entity called kira_remote (or whatever you called it). To check go to Developer Tools > States and start to type “kira” (or whatever you called it) within the entity list. If all is well you should see kira_ appear. As long as it appears there you are OK at this point.
Step 3 - Edit your kira.yaml
When you restarted Home assistant a new (blank) kira_codes.yaml will have automatically been created configuration directory. You now need to edit this file to make sure it contains the codes you want the Kira to blast out.
As a starting point copy and paste the example entry from
https://www.home-assistant.io/integrations/kira/
And then edit this to add the names and associated codes for the things you wish to control. As an example this is an entry for the number 1 button from a Panasonic DVD player:
- name: PanaOne
code: “K 2432 0D31 06EB 0196 01F3 0194 0538 01B4 01D3 01B4 01D1 01B4 01D3 01B4 01D3 01B3 01D3 01B3 01D3 01B4 01D3 01B3 01D3 01B3 01D3 01B4 01D3 01B3 01D3 01B4 0518 01B4 01D3 01B3 01D3 01B4 01D1 01B7 01D1 01B7 01D1 01B4 01D3 01B4 0518 01B4 01D3 01B4 01D1 01B7 0518 01B4 01D3 01B3 01D3 01B4 01D1 01B7 01D1 01B4 01D3 01B4 01D1 01B7 01D1 01B7 01D1 01B4 01D3 01B4 01D1 01B7 01D1 01B4 01D3 01B4 0518 01B4 01D3 01B4 01D1 01B7 01D1 01B7 01D1 01B4 01D3 01B4 01D1 01B7 01D1 01B4 01D3 01B4 01D1 01B7 01D1 01B4 0518 01B7 2000"
device: DVD
type: kira
You may well be wondering where to get the IR codes from. You can use the kira utility program (see menu above) to capture them yourself or look for pronto style codes on sites such as remotecentral.com for example. If captured be sure to use type: "kira" rather than "type: pronto"
Step 4 - Test the remote
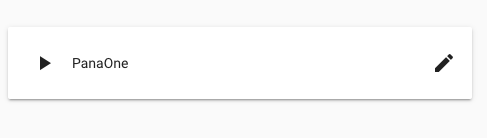
Go to “Configuration” and select “Scripts” and click to add a new script. This is an example using the Panasonic code above.
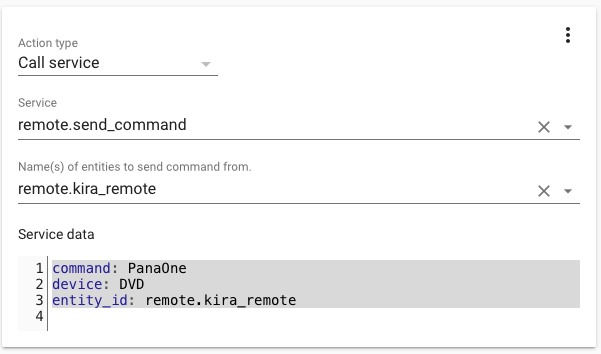
When you have filled in the data to match your yaml entry save the script and test it by clicking the play button next to the name you assigned. If all has gone well your Kira module should now blast this IR code and operate your equipment.
Once you know the code is working and procedure is correct you can use the facility in any number of ways, perhaps triggering the output based on sensor readings or by adding a number of buttons as a virtual remote in the Home assistant front end.
Once you are happy that the integration is working we suggest that you frequent the Home Assistant community for ideas and examples of how best to make use of the integration.