(note - if you intend to use RS232 or wired ethernet ignore this section and head to the Expansion Module tab).


Wireless setup
In this mode the module will be connected to your wireless network. Check that you have good wireless signal strength in the area you wish the module to be located.
Onboarding
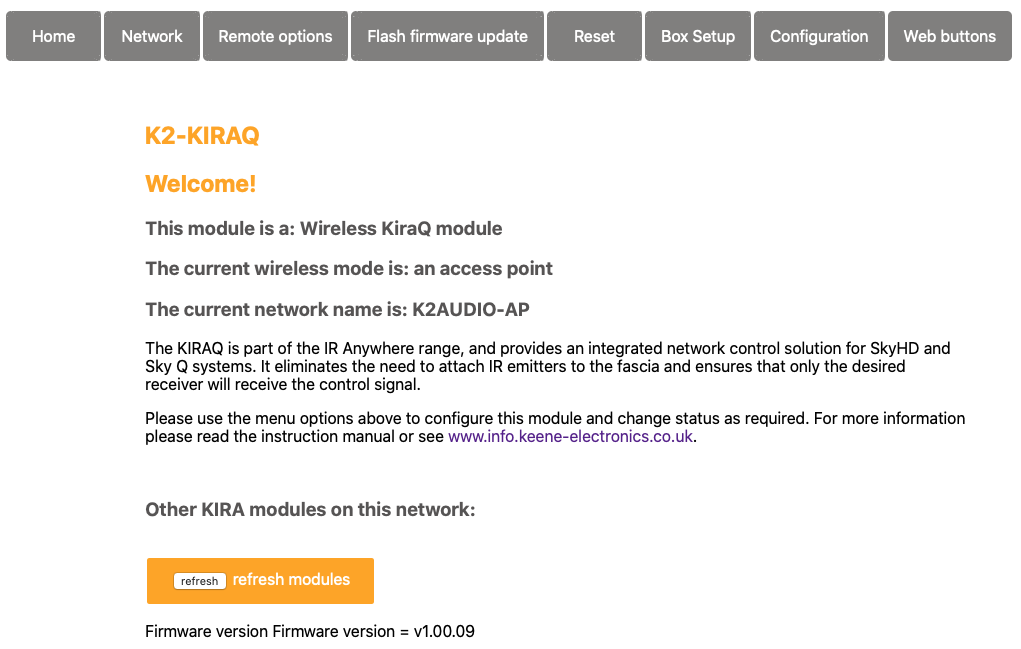
Scan for and connect to the wireless network called K2AUDIO_AP. The default password is K2AUDIO! (all caps). Once connected enter 192.168.4.1 into your browser address bar. You should now be able to see the web page for the KiraQ module.
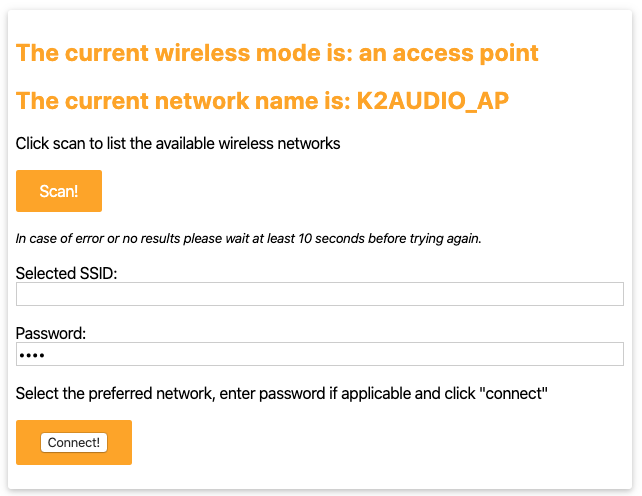
From the top menu select “network” and click to scan for available networks. Once the list is populated select your wireless network, enter the password then click “connect”.
After a few seconds you should see a success message and the newly assigned IP for the KiraQ module. Make a note of this IP address and browse to it to finish configuration.
note - It is recommended to assign a static IP address so that you can always access at the same address. Please see the configuration section for more details.
Understanding the display and status LED
The display will help to guide you through the setup process and provide relevant information at each stage. The status LED provides a quick visual confirmation for all functions. Green indicates a normal process, Blue provides confirmation that a command has been sent and red indicates an issue that needs attention.
At any stage you can briefly depress the reset button to cycle the display through the relevant information.